 All itineraries
Hong Kong in 4 Days — Peak, Harbour, Big Buddha and the South Side
Four days that give Hong Kong its whole shape: the Peak and Central, the Kowloon side, an island monastery, and a south-side beach.
≈ HK$1,800 per person
Copies all 30 stops into a trip of your own, on your dates.
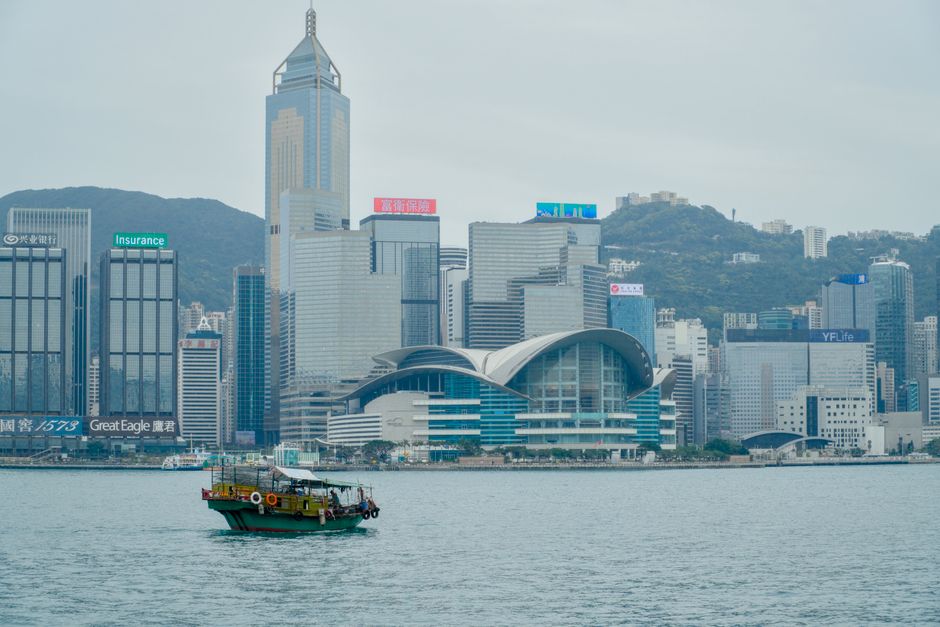
Photo by Wei Wen Lai on Pexels
Scored by our reviewer at publish time — traveler ratings replace it at 3.
Four days that give a first-timer the whole shape of Hong Kong: the Victorian-hill half, the Kowloon half, an island monastery and a beach. Day 1 works Sheung Wan and Central on foot — trolley dim sum, the 1847 Man Mo Temple, the old Central Police Station turned free arts complex, Michelin roast goose — and ends on the Peak Tram at sunset. Day 2 crosses on the Star Ferry to a freshly reopened Museum of History (the HK$0 headline act of 2026), works north through Kowloon's bird, flower and street markets to a Temple Street claypot, then comes back to the harbourfront for the lit skyline. Day 3 is the Ngong Ping cable car to the Big Buddha, a monastery vegetarian lunch and the stilt-house village of Tai O. Day 4 rides the south-coast bus to Stanley and Repulse Bay and comes back on the ding ding tram. Budget about HK$1,800 per person for four days of admissions, transport and eating well, lodging aside. Two line items carry a quarter of it — the Ngong Ping cable car (HK$295) and the Peak Tram Sky Pass (HK$148) — and both are the lowest-rated paid stops here, so both come with free alternatives named in the stop. Everything else is street food, free museums and public transport. Get an Octopus card at the airport: it pays for the ferry, the MTR, every bus, the tram and most convenience stores.
Day by day
Day 1 — Sheung Wan and Central on foot, then the Peak at sunsetSheung Wan and Central on foot, then the Peak at sunset
Day 2 — Cross the harbour: Star Ferry, a reopened museum, Kowloon markets, the lit skylineCross the harbour: Star Ferry, a reopened museum, Kowloon markets, the lit skyline
The preview ends here
2 more days in this itinerary
You are reading days 1–2 of 4. The rest isn't hidden behind a blur — we simply don't send it until you have an account.
Days 3–4 open when you sign in
You are reading days 1–2 of 4. Days 3–4 and their 16 stops are sent once you have an account — not hidden behind a blur, simply not sent yet.
On the map
Field checks & ratings
Every venue in this itinerary was checked against current public sources — opening hours, prices, closures — before it was published. Stops that aren't venues — transit legs, walks between them — aren't in the count.
Checked against tripadvisor.com · openrice.com · discoverhongkong.com · guide.michelin.com · np360.com.hk · afoodieworld.com + 11 more
How we check
Anything with a kitchen or a ticket gate is verified individually: the official site where one exists, plus recent traveler reviews. Public squares, parks and viewpoints get an existence check. A venue we can’t confirm is flagged below rather than quietly kept, and the whole itinerary is re-checked on a cadence — past 12 months without one, the checked claim is dropped and the date above stops being a promise.
+2 more flagged venues on the days beyond this preview.
Every venue was checked against current public sources — hours, prices, closures — before it was published. Walks and transit legs are not in the count.
checked against tripadvisor.com · openrice.com · discoverhongkong.com · guide.michelin.com · np360.com.hk · afoodieworld.com + 11 more
2 more flagged venues on the days beyond this preview.
How we check
Anything with a kitchen or a ticket gate is verified individually: the official site where one exists, plus recent traveler reviews. Public squares, parks and viewpoints get an existence check. A venue we can’t confirm is flagged below rather than quietly kept, and the whole itinerary is re-checked on a cadence — past 12 months without one, the checked claim is dropped and the date above stops being a promise.